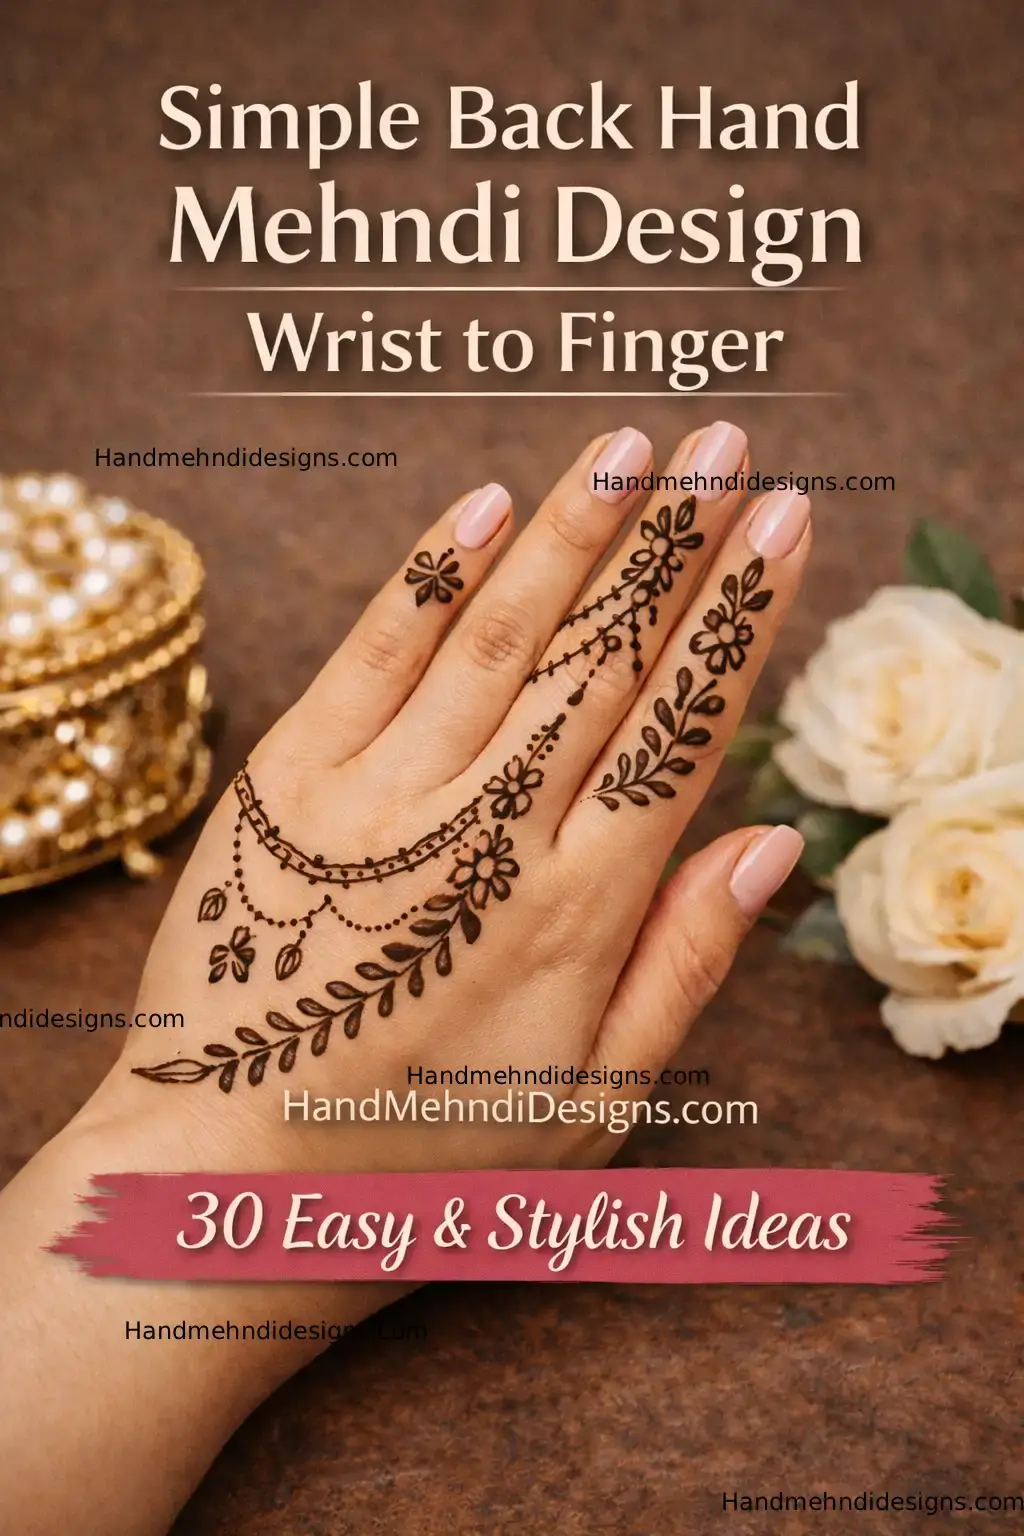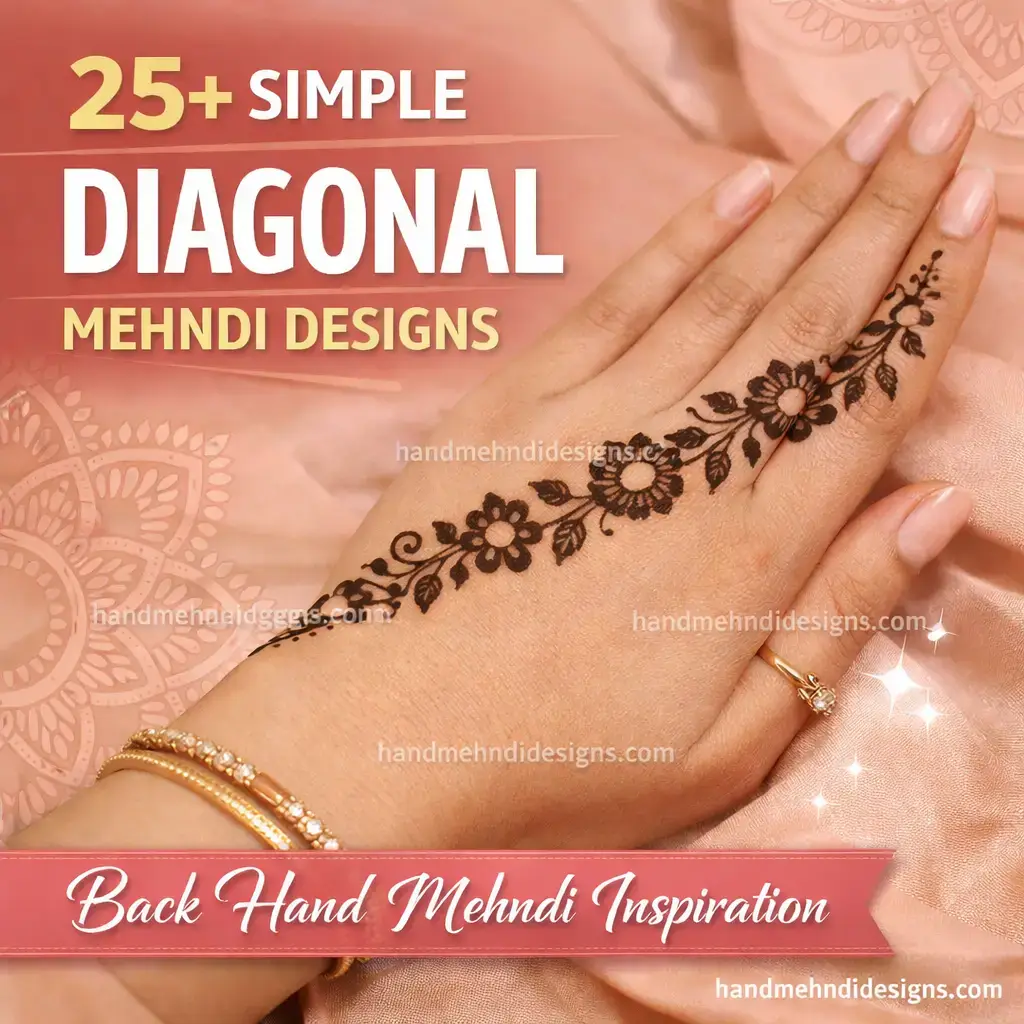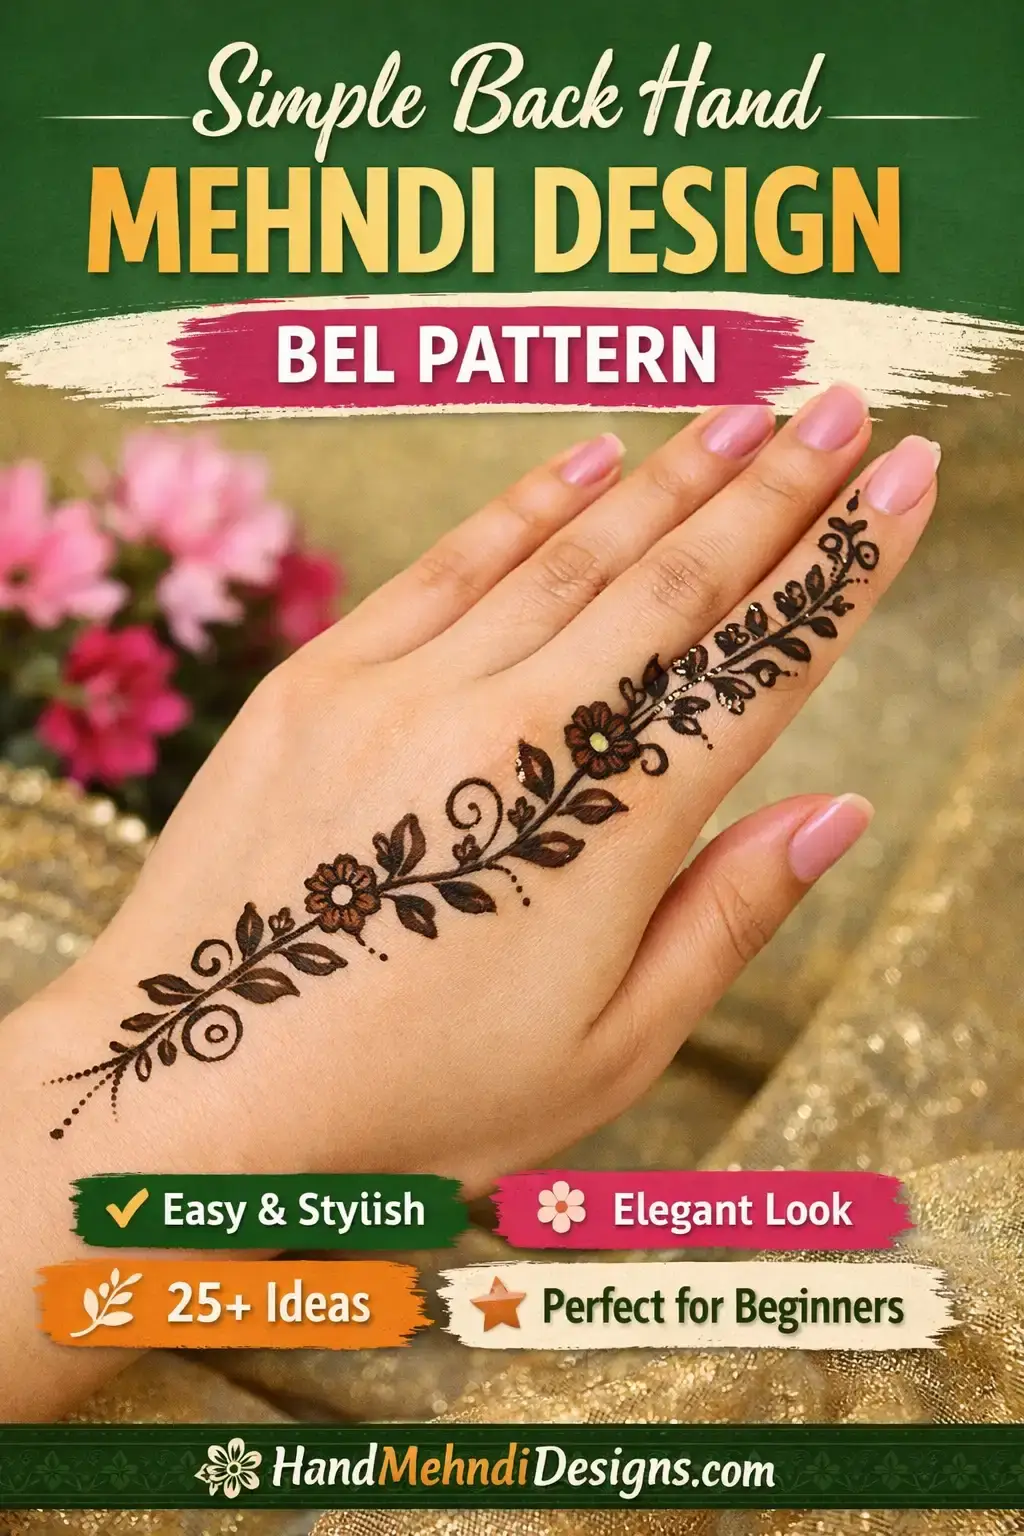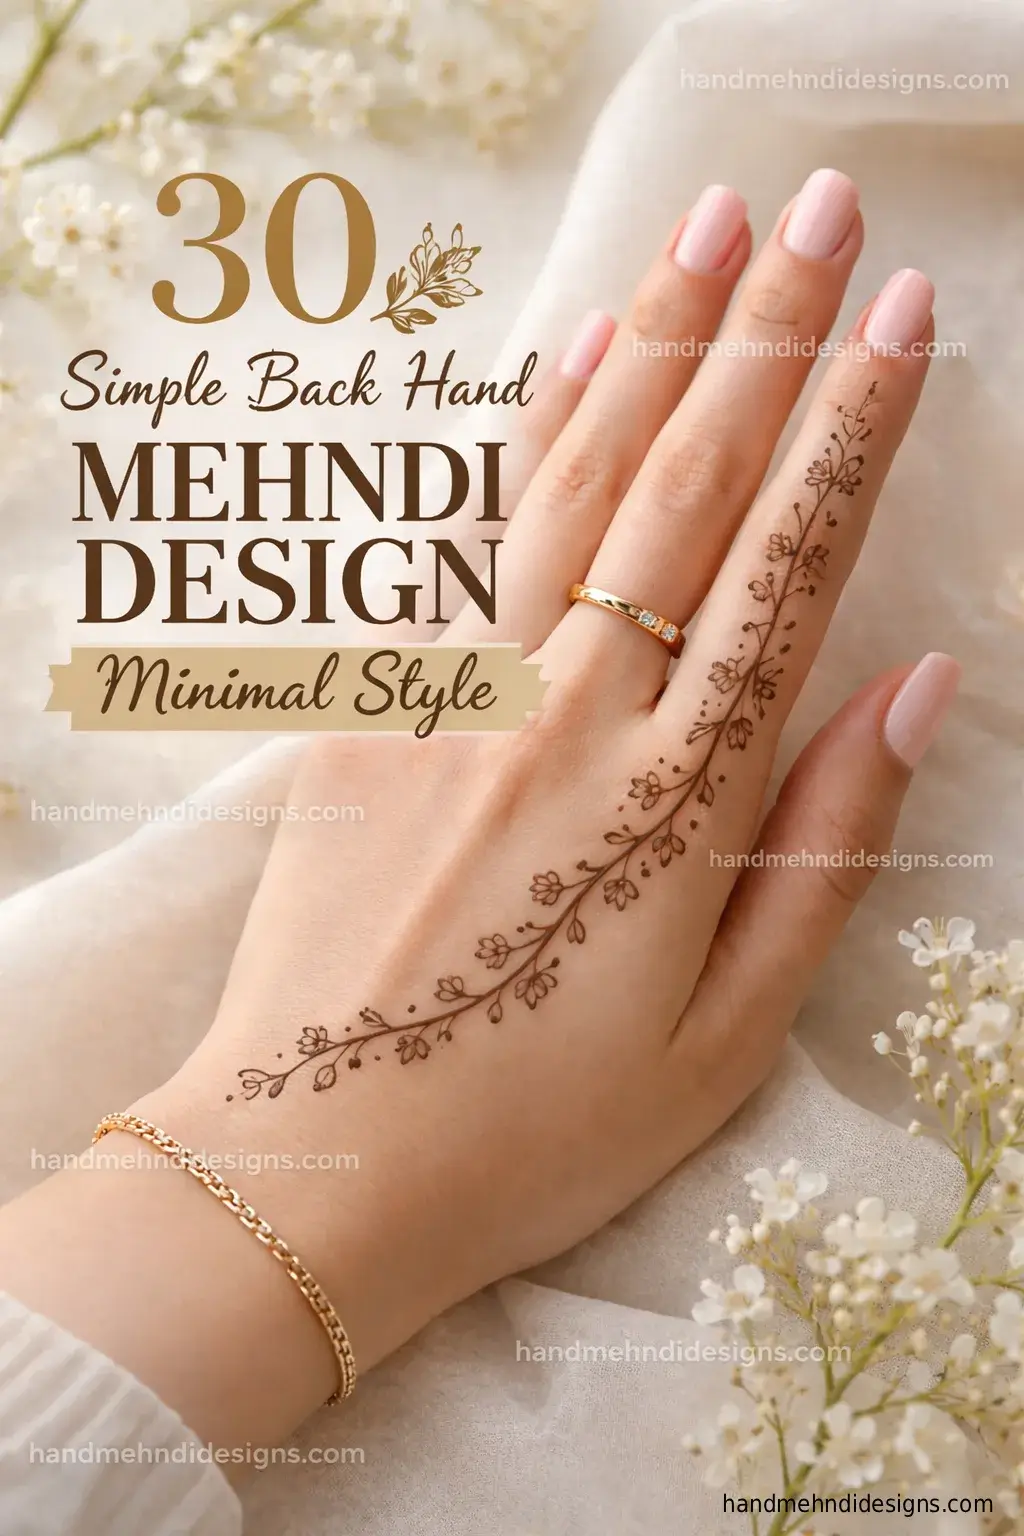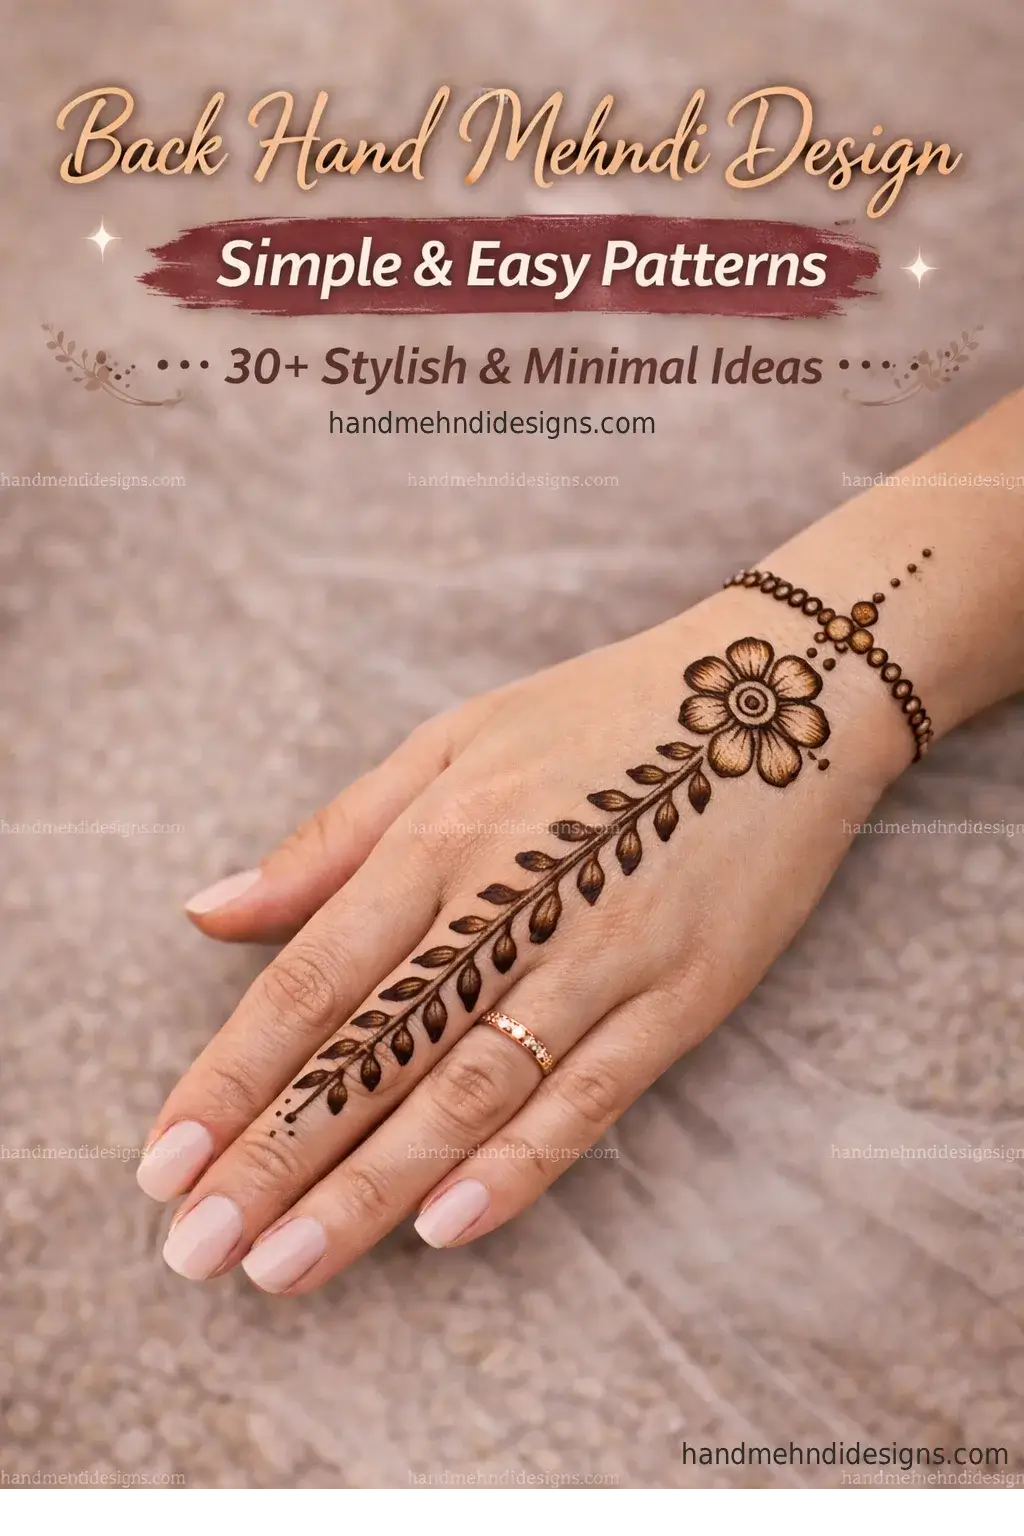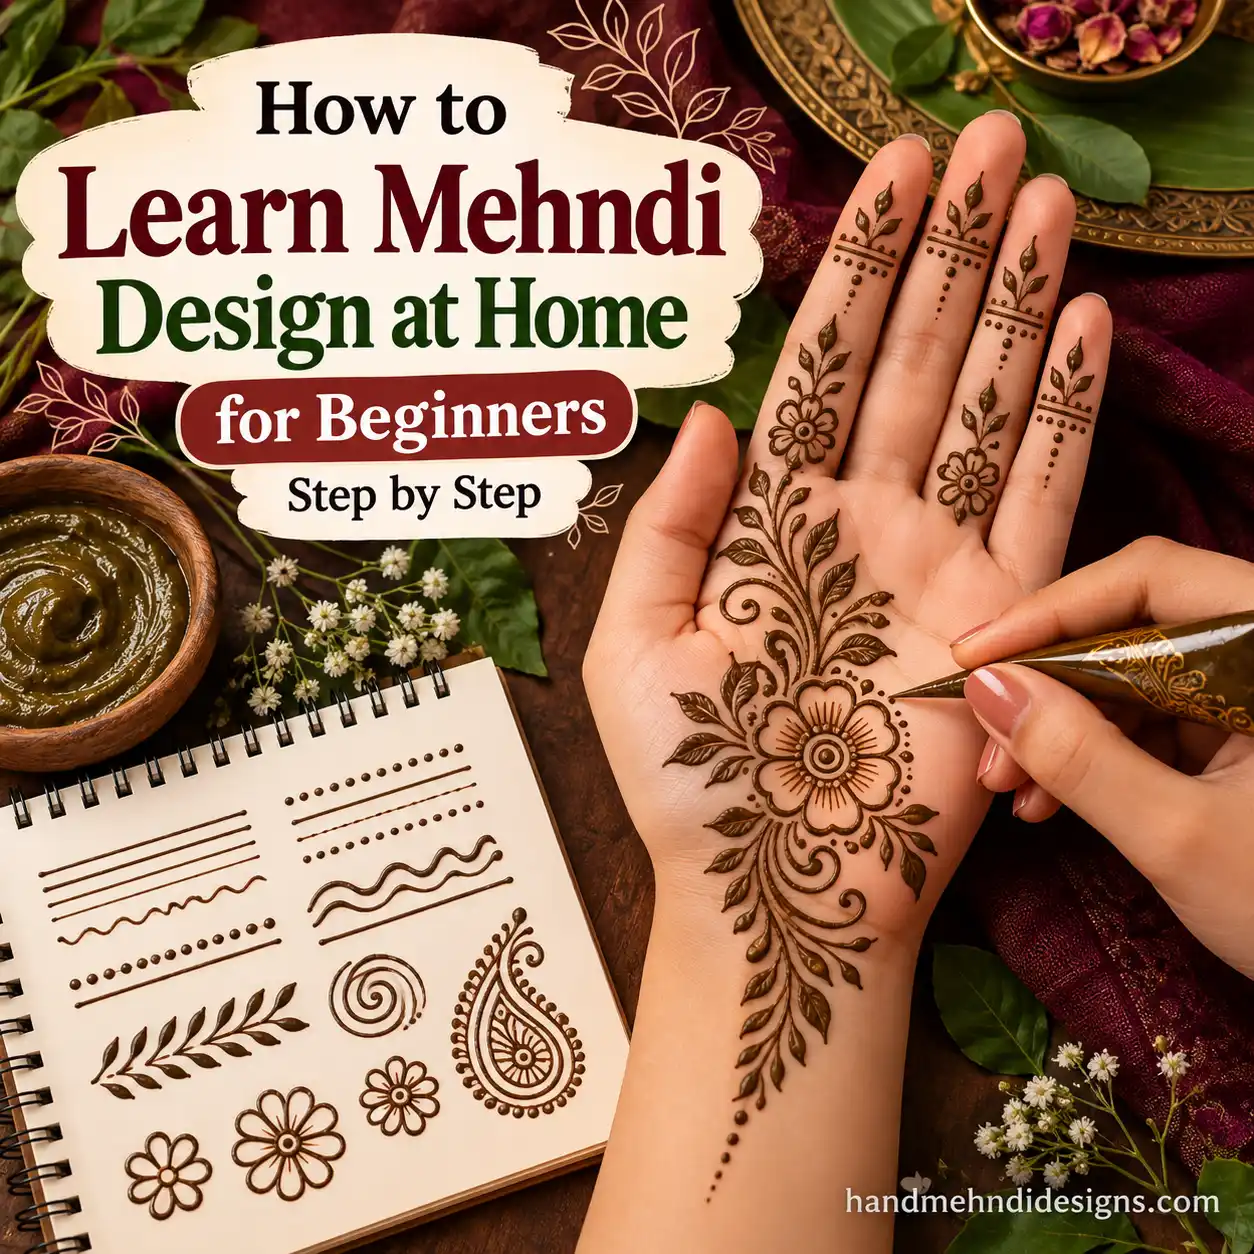

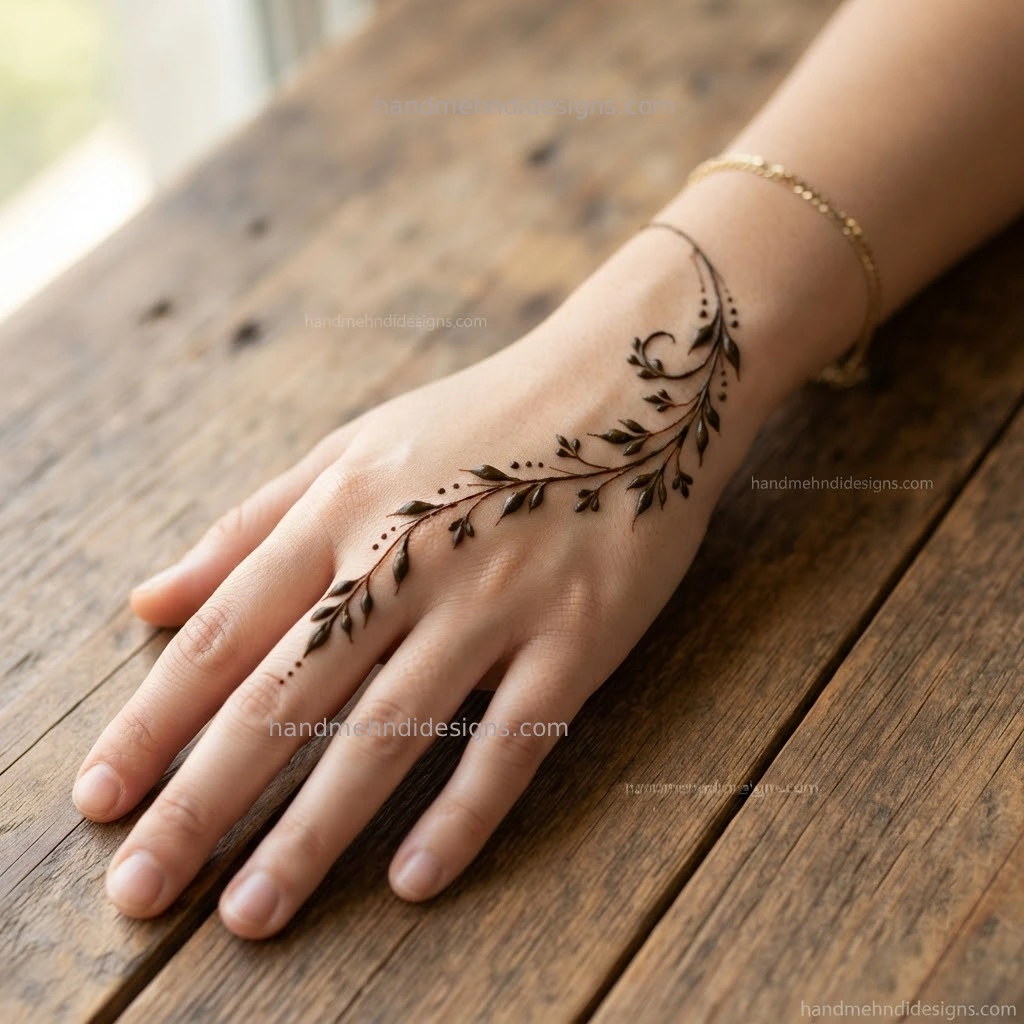
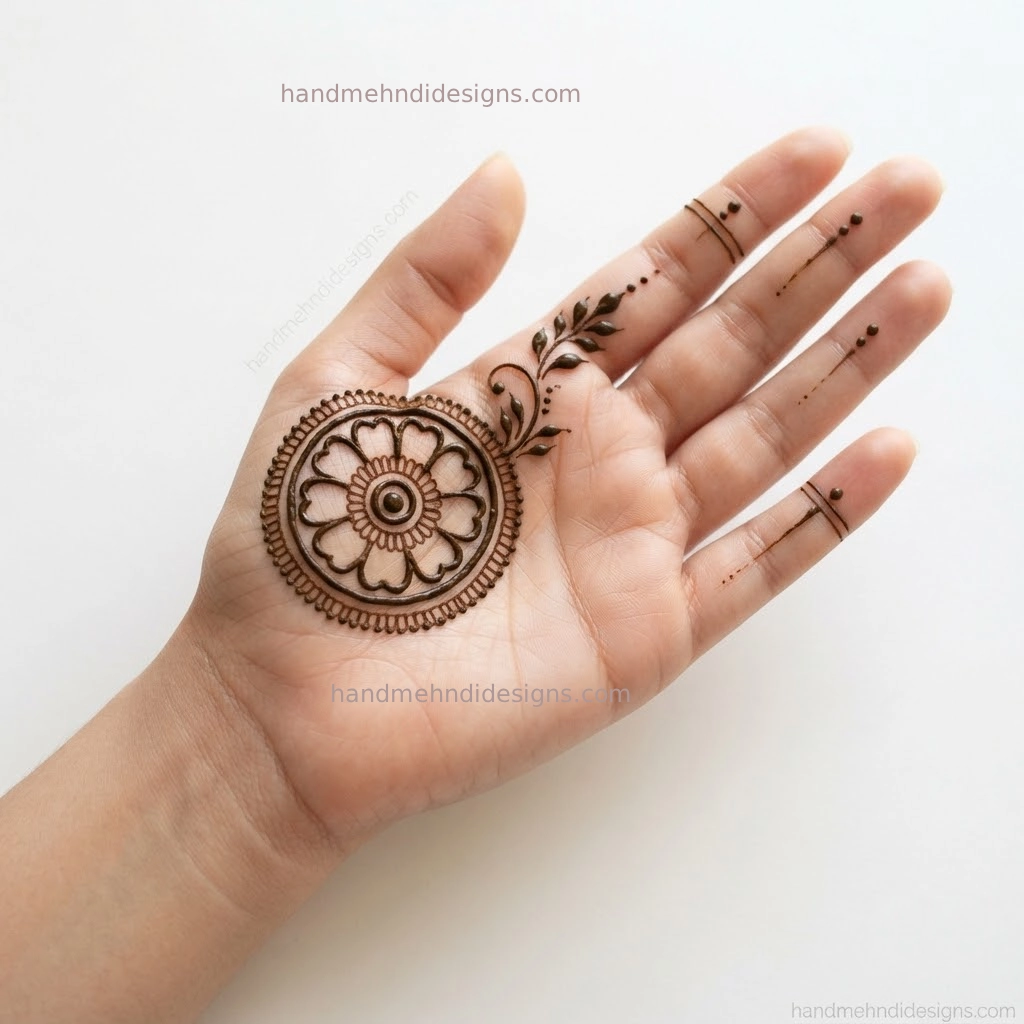
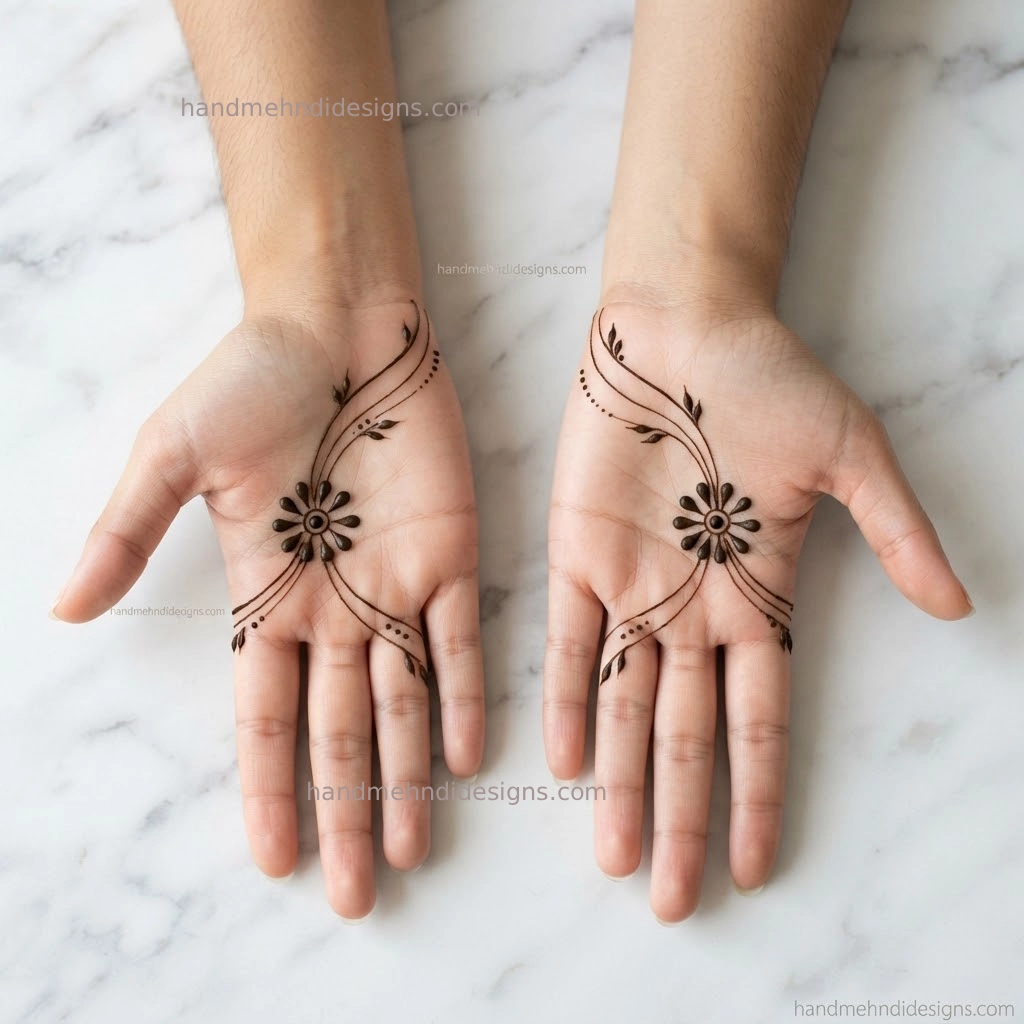
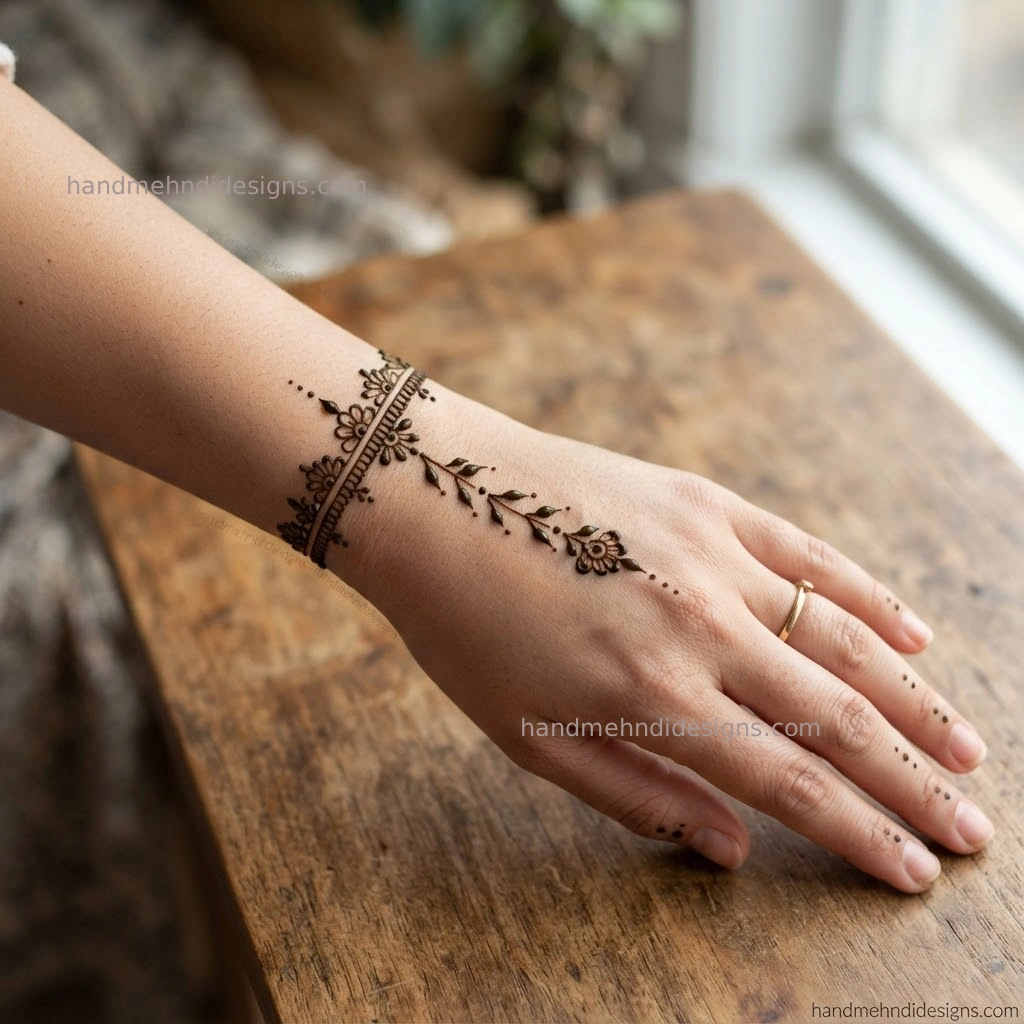
Easy mehndi designs are the perfect starting point for those who want simplicity without too much complexity. Small florals, leaf pattern, dot and buds enhance the overall beauty of these patterns because these feel natural still look graceful. These designs focus on simple shapes like circles, flowers, leaves, and dots, which are easy to recreate anytime and require minimal practice. Connecting different parts of design feel lightweight, neat and perfect for everyday happiness.
If you are learner, starting with minimal patterns will help you understand how the cone flows and how to maintain line control while drawing. This step-by-step guide is specially created for beginners so you can learn easily, practice confidently, and create beautiful designs in less time without getting the design overcrowded.
With consistent practice and determination, even the simplest designs can look neat, stylish, and professional.
Why Choose Easy Mehndi Designs for Beginners?
Choosing easy mehndi designs is important because it builds a strong base along with confidence. Easy designs helps beginners often as they struggle cone control. Many beginners make the mistake of trying complex designs too early, which leads to messy patterns and frustration so the easy mehndi designs are great for practice session and last minute celebrations.
Simple mehndi designs help you focus on the foundation like straight lines, even spacing, basic floral patterns and symmetry.
Benefits of easy mehndi designs:
-
Helps improving line control and cone grip
-
Reduces chances of mistakes and stress
-
Easy and quick to create
-
Builds confidence step by step in beginners
-
Makes practice enjoyable and stress-free
- Looks elegant and minimal
When you master simple mehndi designs, it becomes much easier to move toward more intricate and advanced mehndi styles.
Understanding the Design Style (Beginner Mandala + Floral Mix)
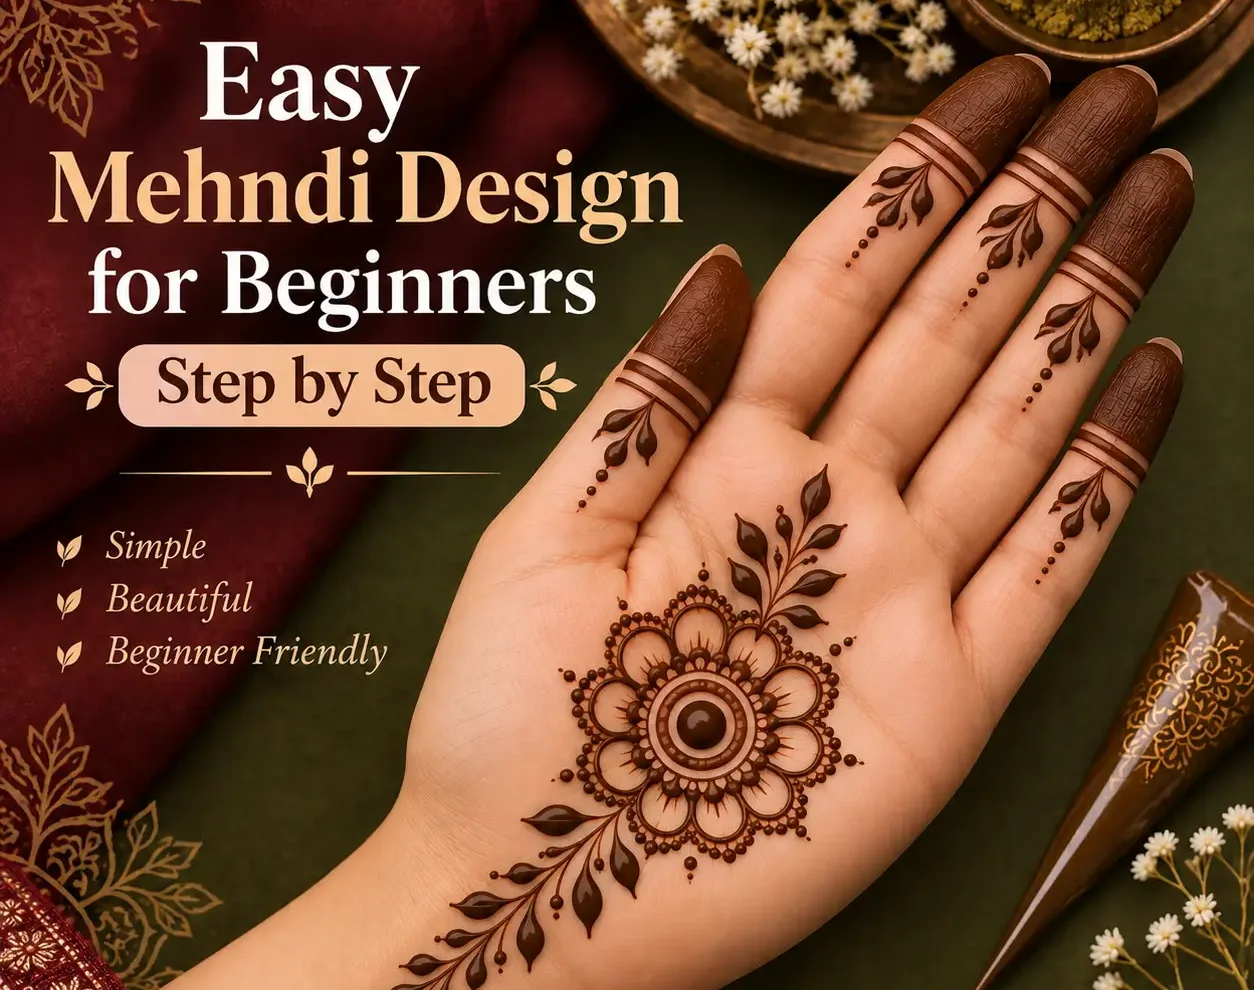
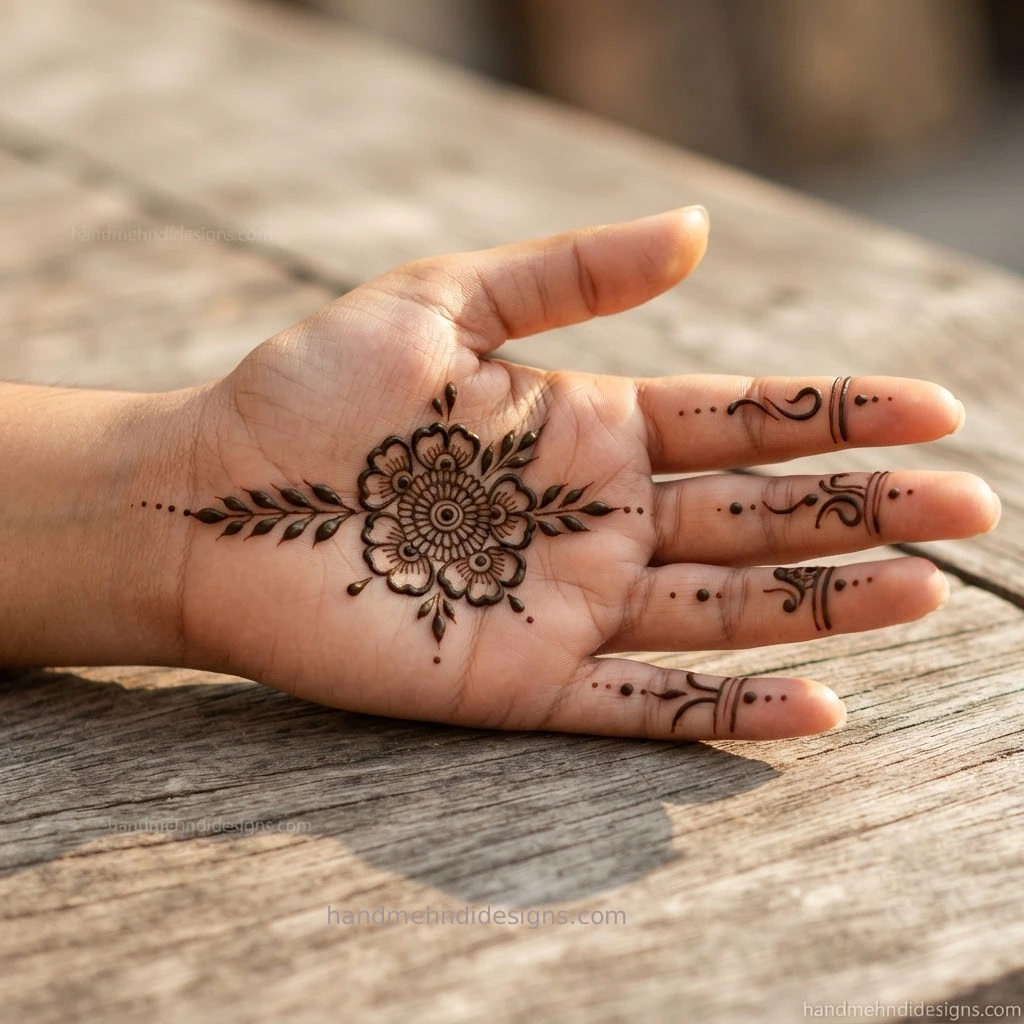
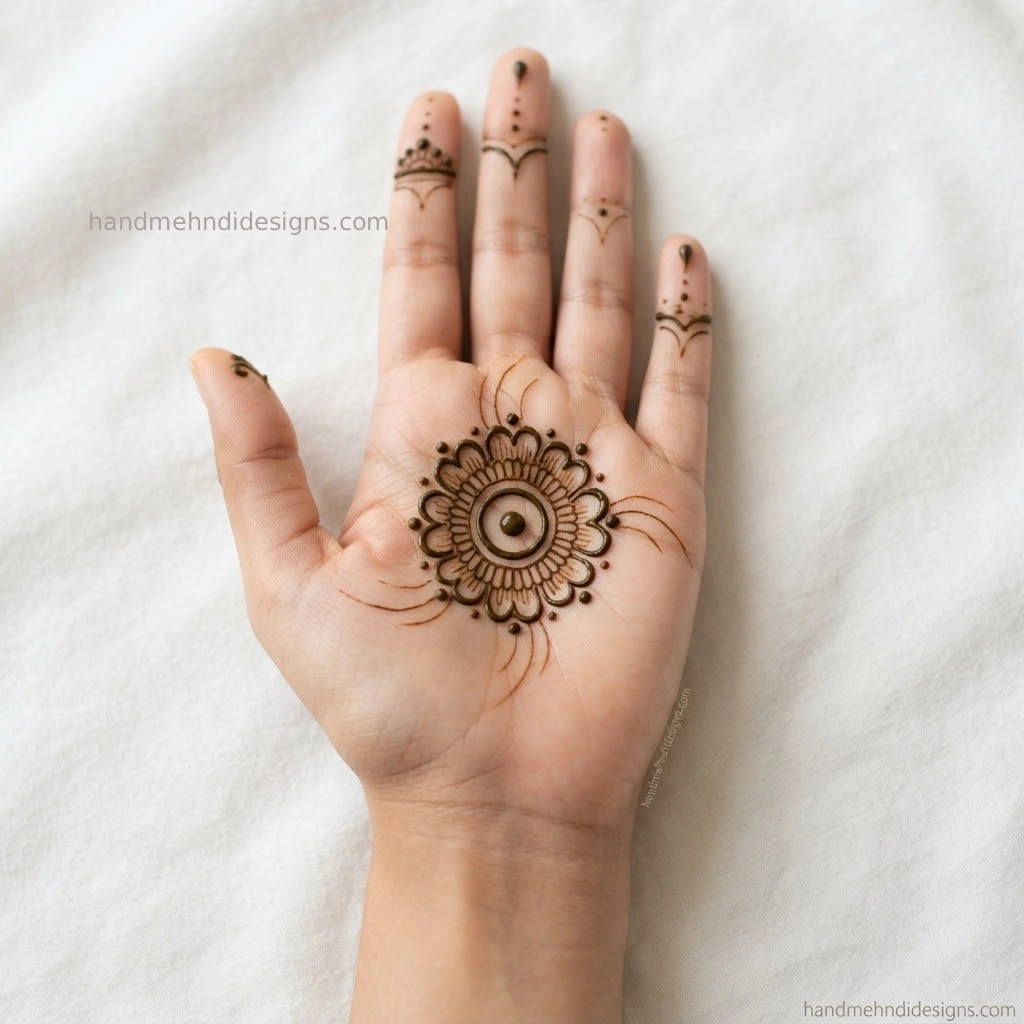
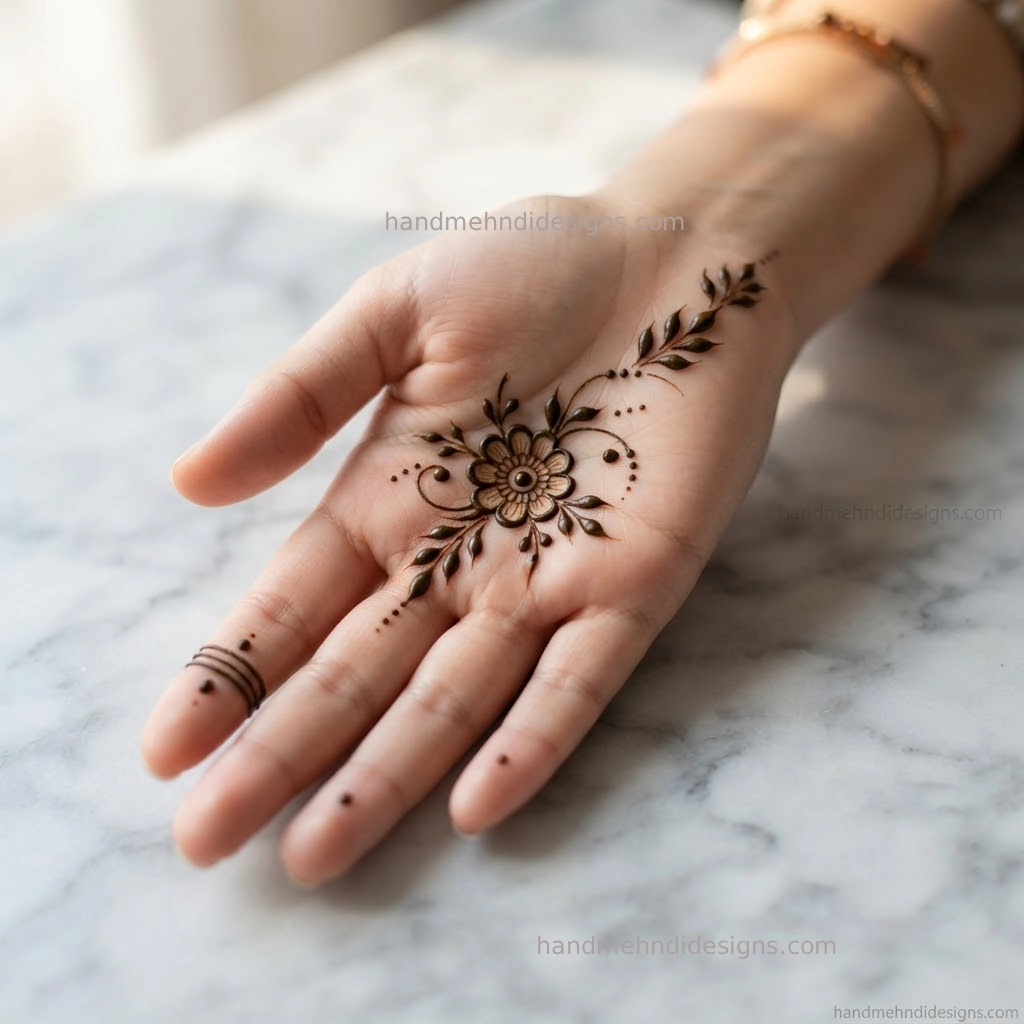
This easy mehndi design is based on a mandala-style pattern combined with floral and leaf elements. It starts with a small mandala drawn in the center of the palm and gradually expands outward with leaf or vine trail along with minimal finger details in a balanced and symmetrical way.
The design includes:
-
A central circle (mandala base)
-
Flower motifs for decoration
-
Tiny leaves and curved lines for smooth flow
-
Simple finger patterns for completion
This simple mehndi style is ideal because it uses basic, repeatable shapes Keeping enough empty space for a clean look. You don’t need advanced skills to curate this design — just a steady hand and a little patience.
Easy Mehndi Design Step by Step (Beginner Guide)
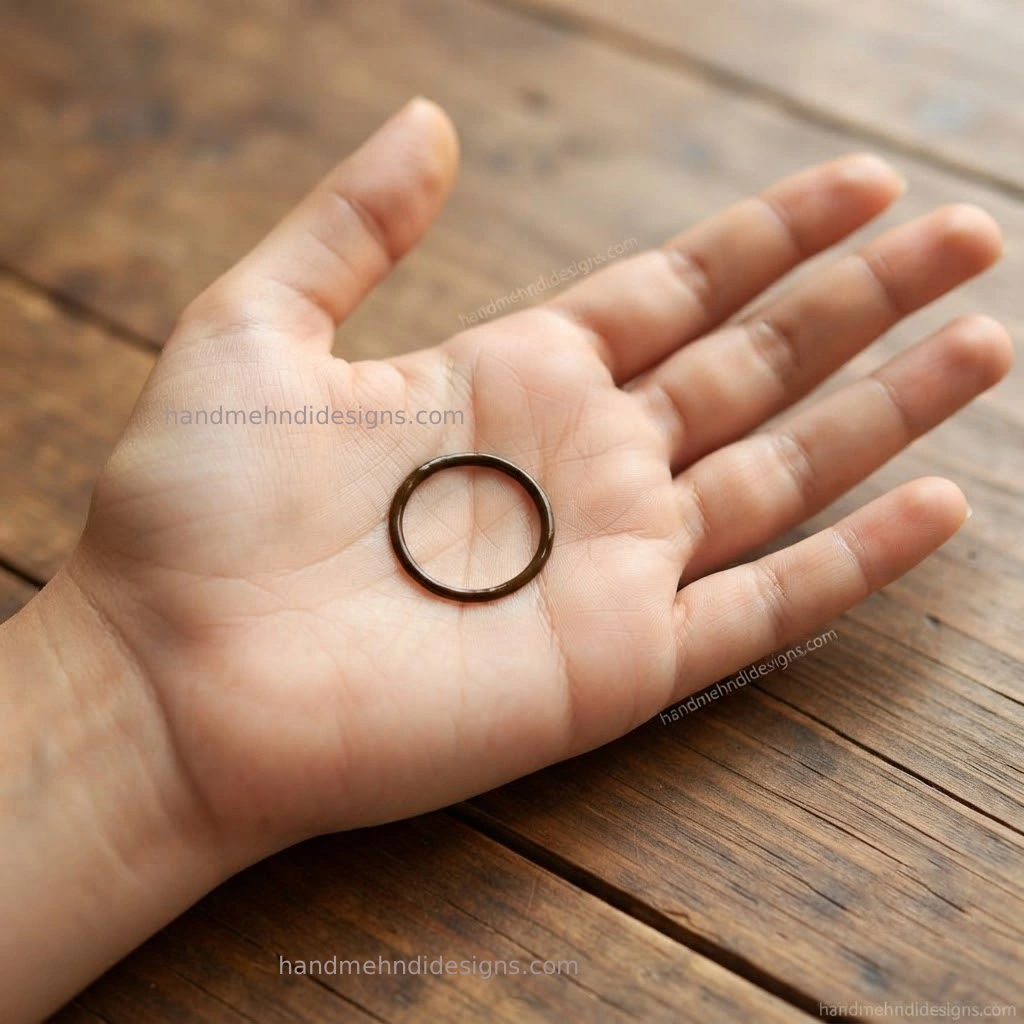
Step 1: Draw a Small Circle in the Center
First start by drawing a small neat circle in the center of your palm. This small center or mandala acts as the central focal point or base of your design, don’t make the mandala pattern too big or complex, try to keep it smooth and even.
If your circle is not perfect, don’t worry — with confidence and regular practice, it will improve.
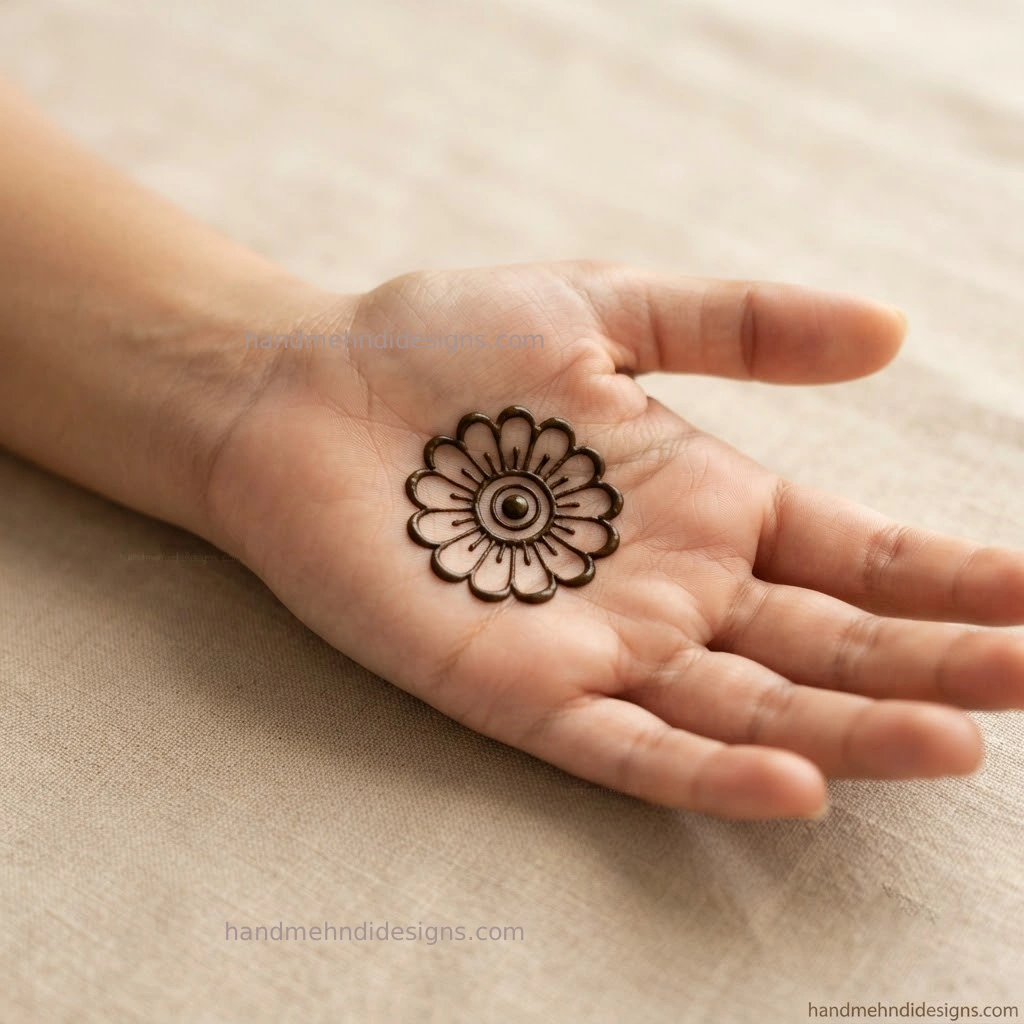
Step 2: Add Petals Around the Circle
Next, add small petals or floral motifs around the mandala to form a flower. Try to keep the petals equal in size and evenly spaced without adding too many floral elements.
This step gives your design a beautiful floral look and creates the softness in the overall design.
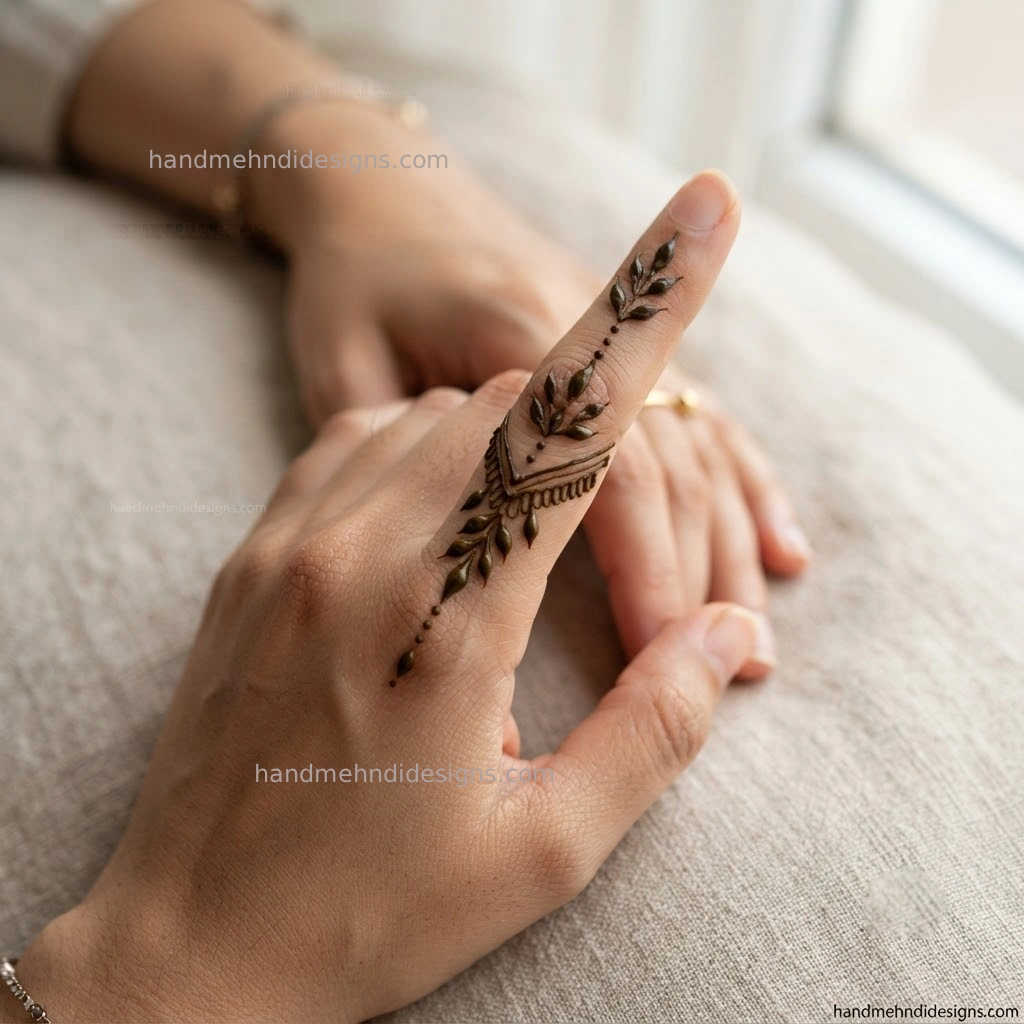
Step 3: Extend Design with Leaves and Lines
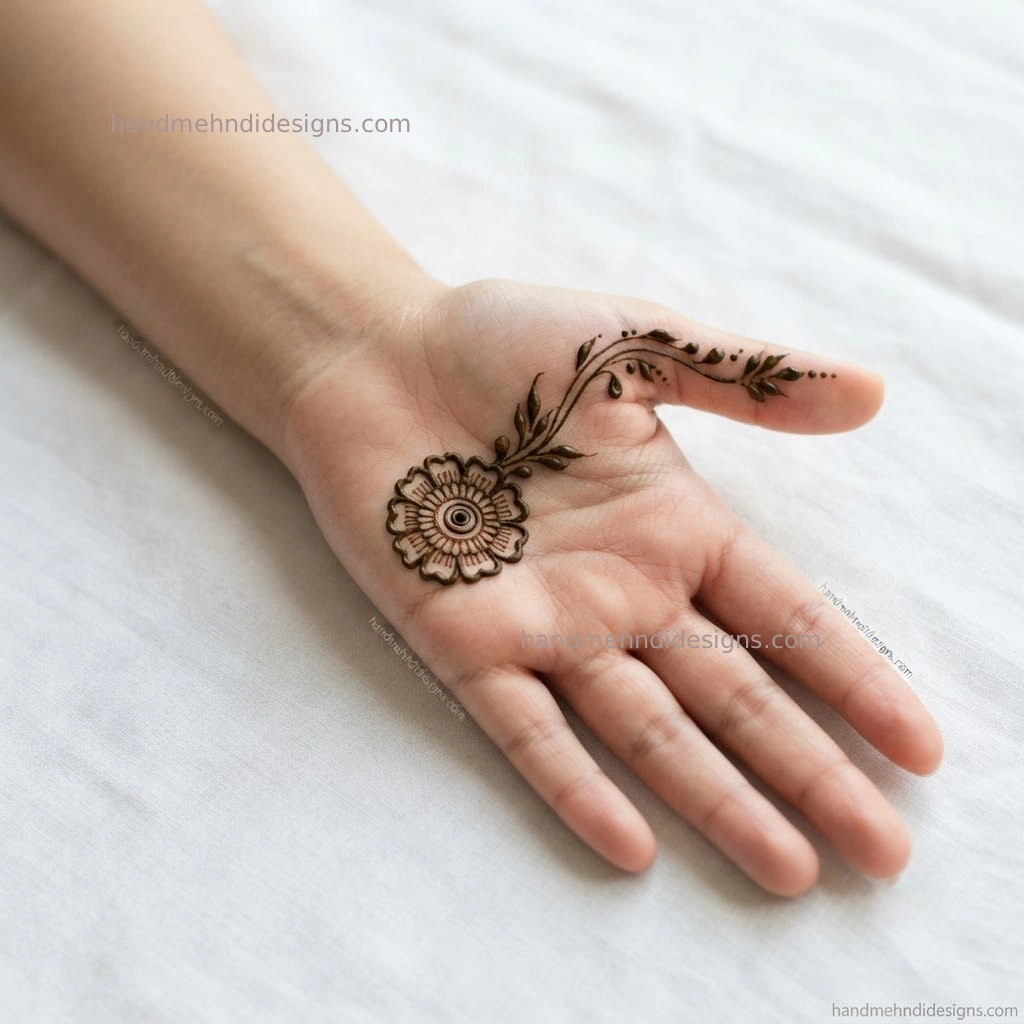
Extend the design outward using curved line along with these lines, draw small dots or teardrop shapes that helps combine mandala with floral elements smoothly. Combining tiny elements with the design offers a fresh and modern vibe.
This step adds flow and makes the design look more natural and elegant without overcrowding.
Step 4: Decorate Fingers with Simple Patterns
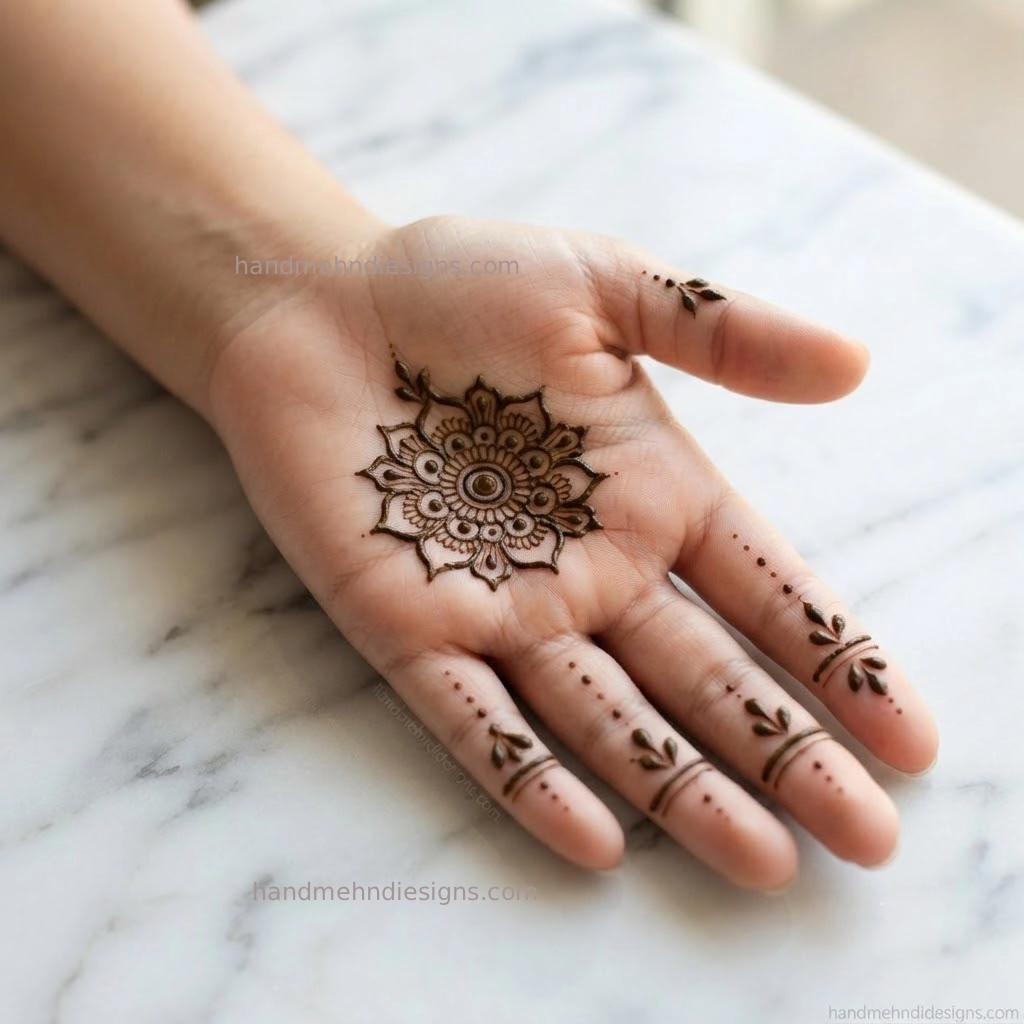
To complete the full design, adorn your fingers with simple patterns like dots, mini pattern or tiny curves, this keeps the design balanced and well structured.
No need to make the fingers too complex— keeping them minimal actually makes the design look more stylish and complete.
Step 5: Fill Empty Spaces with Dots and Details
Finally, fill the empty spaces with small dots, minimal elements, or light shading. These tiny details make a big difference in look and give your design a finished and polished appearance.
There is no need to fill the entire hand— balance is the key to a stunning mehndi design.
Tips for Better Mehndi Results
If you want a dark, long-lasting mehndi design, follow these effective tips:
-
Regular practice of basic elements like circles and lines.
-
Proper cone control for neat application.
-
Apply mehndi with steady hands for better final look.
-
Begin with small designs before trying bigger pattern.
-
Always use a fresh and good quality mehndi cone.
- Use lemon sugar dab after mehndi start drying.
- Avoid water for 10-12 hours after removal.
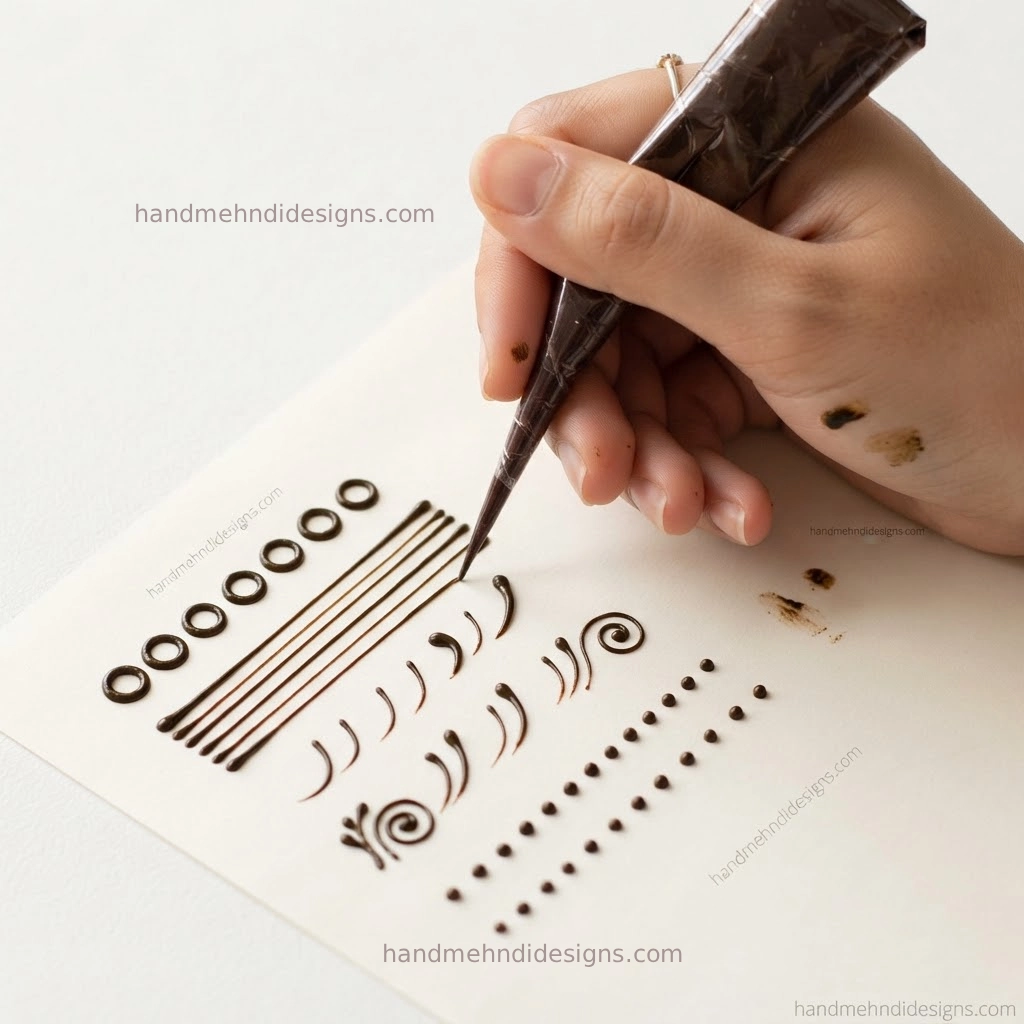
Consistency and dedication in practice is the most important factor for improving mehndi skills.
Common Mistakes to Avoid
To make your design look more clean, stunning and professional beginners should avoid these common errors:
-
Lack of mehndi cone control
-
Drawing uneven or thick lines
- Overdone a simple design with too many elements
-
Running on to complex design in starting
-
Not maintaining space between elements
-
Applying mehndi on oily or wet hands
- Skipping design planning
Avoiding these mistakes, your mehndi design will look more professional and instantly uplift the overall beauty of hands
Best Occasions for This Design
This super easy mehndi design is versatile and perfectly matched with any occasion. You can apply it for:
-
Festival mehndi ( Diwali, Eid, Teej )
-
Casual family gatherings
-
Practice and learning sessions
-
School or college functions
-
Small celebrations and events
- Ceremonies and baby showers
Because this is easy and minimal, it’s highly appropriate when you want a quick beautiful design without spending too much time and the design stands out effortlessly.
Conclusion
These patterns are the proof that beauty does not require any heavy element and filling. All you need is simply practice basic component shapes like circles, leaves, dots and tiny flowers. By learning simple steps like drawing a circle, adding petals, extending with leaves, and filling with dots, you can form complete and attractive design with ease at home without any advanced skill. The beauty of these simple patterns lies in their negative space and smooth flow that makes them perfect for every occasion.
The main key is to practice regularly on paper, plastic sheets before applying on hands and stay patient. Over time, your hand control will improve gradually, and you will be able to curate more detailed and stylish mehndi designs confidently.
FAQs (SEO Optimized)
1. What is the easiest mehndi design for beginners?
A small circular mandala pattern adorned with tiny dots is the easiest mehndi style especially for beginners.
2. How can I practice mehndi at home?
By consistent practice and patience on paper, plastic sheets, or your own hand using simple basic shapes like circles, petals, lines or curves.
3. How long does a beginner mehndi design take?
A simple beginner mehndi takes around 15–20 minutes to brighten the whole look of hands.
4. Which mehndi cone is best for beginners?
A fine-tip cone with uniform flow is best for beginners as they help in drawing fine lines and various shapes to curate clean look.
5. Can beginners create stylish mehndi designs?
Yes, by combining simple basic elements like florals, leaves, tiny buds and dots, beginners can create clean and stylish mehndi designs.